Supplies
DMC floss (I used numbers 3031 and 817)
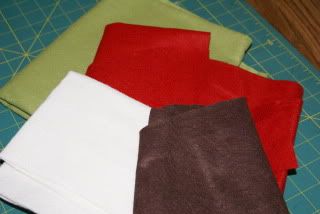
Small amounts of wool felt in the colors you like (thankfully I had red, green, off-white, and brown leftover from Christmas gifts)
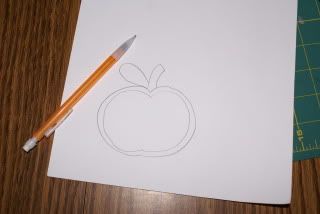
Pattern
Needle
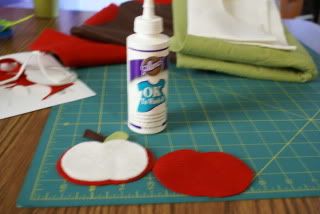
Fabric glue
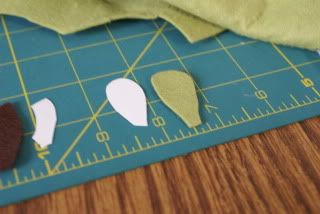
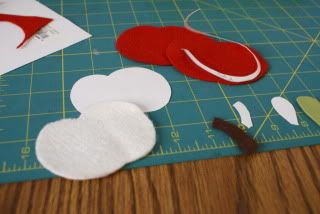
Start by printing out the pattern and cutting out the pieces. You need two of the outter apple, and one of the inner apple, stem, and leaf.

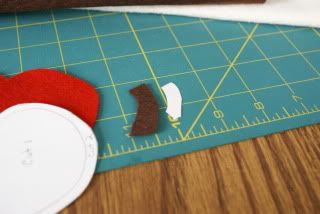
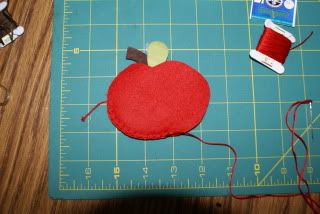
Using a small dot of fabric glue attach the left to the stem and then the stem to the apple. This will hold it in place while you sew.
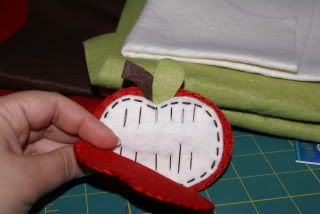
Using a running stitch attach the inner apple to outer apple. You can also add "seeds" using a satin stitch.
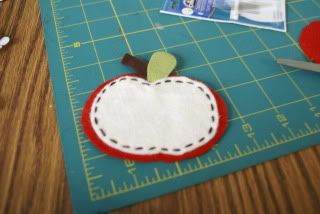
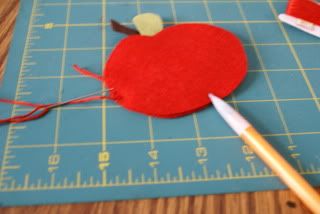
Using a blanket stitch attach the two outter layers of the apple together between the needle and the pencil shown in the picture.
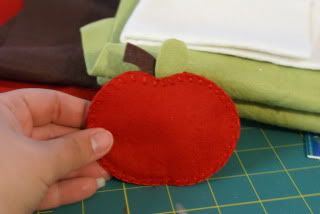
Once you have attached the two layers continue the blanket stitch completely around the top layer.
Then blanket stitch the bottom layer. Now your needlecase is done and ready to use!
If you make an apple needlecase, please send me a picture or a link to your blog, I would love to see it!
Very cute :) One of these days I need to actually make myself one. I just poke them through a scrap piece of felt... not nearly as pretty :) Thanks for the tute. I'll be linking on Facebook :)
ReplyDeleteI will do this project - very cute idea. thanks for sharing, Jill
ReplyDeleteI just got done making this. It's really cute and I like the 'flatness' of it for transporting (versus a pin cushion). Thank you for sharing!
ReplyDeleteThanks everyone!!! I am glad you like the pattern and I really appreciate the comments! Andie.marie I would LOVE to see a picture if you have one!!
ReplyDeletehi, just stumble on your blog... good idea. I definitely going to try it... i'll let you know if it works.. ;)
ReplyDelete